We’ve already discussed what it’ll cost you, but what are the steps to making a mobile app? We’ll be taking you on a magical journey through our baker’s dozen of app creation. We’ve been doing this for years, and we’ve boiled our process down to a science. Grab your phone and your big ideas; we’re going on an adventure!
Summary
- Slingshot utilizes a 4-stage mobile app development process: Research, Design, Development, and Support.
- Mobile development should start with upfront work to ensure your app is viable and solves your user’s problems.
- If your Design phase utilizes a prototype, you’ll be able to iterate quickly and cheaply; you can make changes to pictures as opposed to code.
- During development, versions of your app should be released throughout so that you can see the progress.
- Long-term support isn’t always necessary, but it’s something to keep in mind.
Research
Vision
The first stop on our tour of mobile app development is vision. During this stage, you’ll need to decide exactly what the goals of your app are. What should the app be capable of doing, and what problems is the app trying to solve? While coming up with all the fun possibilities is easy, narrowing them down is the hard part.
Interviews
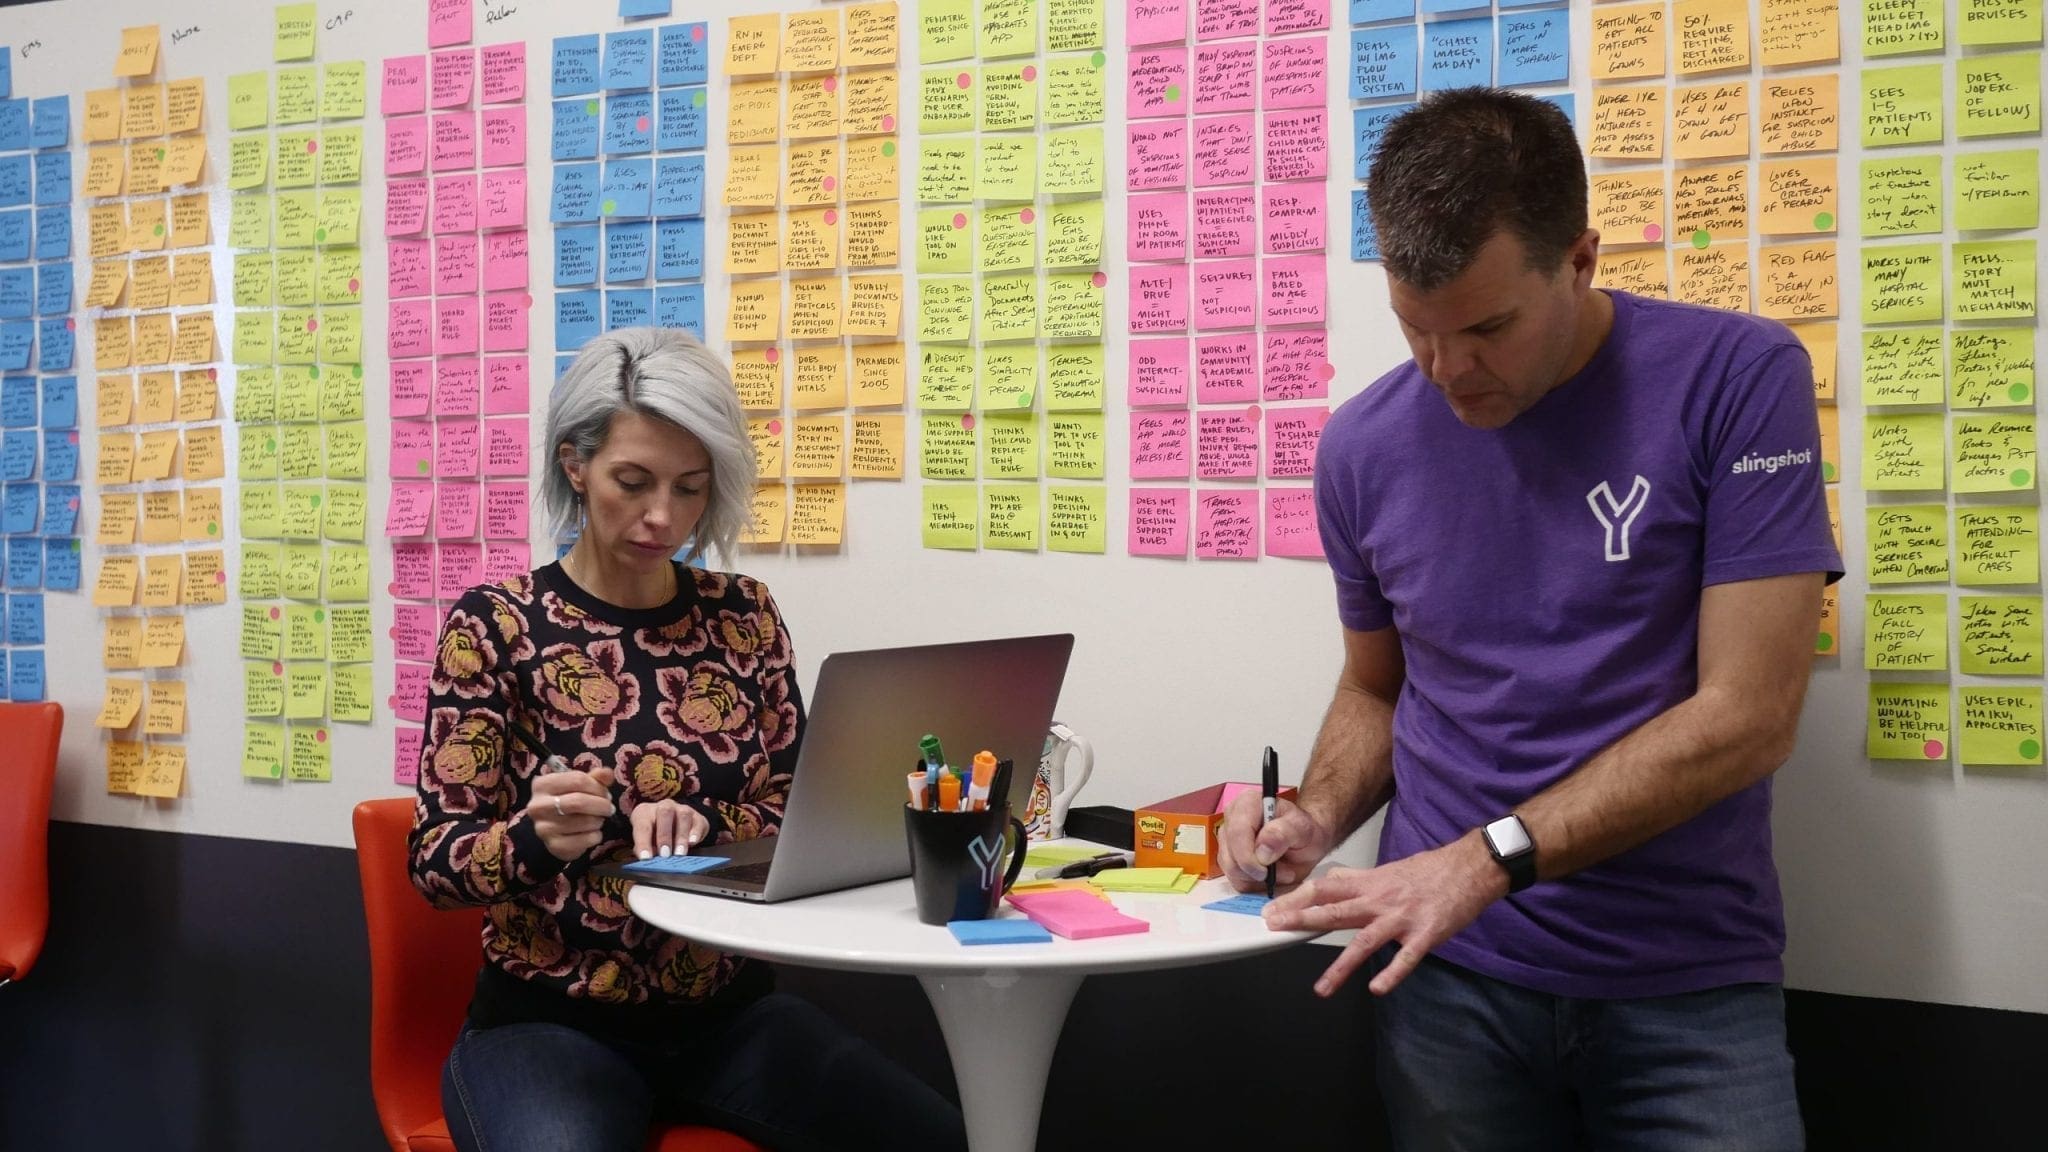
This is where we put your assumptions to the test. You’ll want to gather a handful of future users and stakeholders of your app. Understanding their unique problems instead of asking users what they need is the best way to help narrow down your features. If Henry Ford had asked people what they needed, they’d tell him a faster horse! Try and understand their problem, so that you can later brainstorm ‘the car’.
You’ll also need to figure out how tech savvy your users are. Are they IT-specialists, or computer novices? This affects a lot about your app: how detailed descriptions need to be, what features you shouldn’t use, and what devices your app can be on.
Competitive Analysis
You’ll want to look for inspiration within the industry: see what similar apps are doing and create your own spin. Whether your app is a brand new idea or a modified product, you’ll want to have a unique solution. Research your competition to make sure you’re a step above the rest.
Design
Brainstorming
This stage takes what we’ve learned and uses it to decide the next steps. You’ll want to analyze all the information you’ve gathered and decide what should be in your app. This list of features will be used later to create wireframes and prototypes.
The most important decision during the brainstorming phase are your non-standard features: what is unique about your app? What really drives value and solves the problem your users are facing? This is where Henry Ford would have come up with his idea for the car.
Beyond the fun stuff, you’ll also need to look at your more standard features such as notifications, authentication, and connectivity. Does your app need notifications? You’ll need to decide what those are and what happens when a user clicks on one.
Authentication
Authentication decides how users are identified. Apple, Google, Facebook, LinkedIn, and countless others all have authentication options where a user can use their login from those applications instead of creating yet another way to login just for your app. Authentication can also have a biometric nature; your app can log people in based on a face ID or fingerprint scan.
The last major standard feature you’ll have to decide on in the brainstorming phase is connectivity. Will users be able to access your app if they don’t have Internet service? If so, you’ll have to create an offline mode.
While it’s easy to come up with LOTS of good features during a brainstorming session, you’ll want to narrow things down to an MVP, which stands for Minimum Viable Product.
This does not mean creating an app with the lowest amount of functionality possible; it means you want to launch the app with only highly-valuable features. By doing so, you can get to market quicker and then further improve when you’re there.

Design
So now that you’ve got a clear vision of the app and the features it will include, it’s time to design. A User Experience (UX) designer can take the features and turn them into a wireframe. The wireframe is quick, rough, and doesn’t include colors, but helps piece together all the screens that will be in your app as well as the flow of how the user will interact.
At this point, things are really coming to life. After the wireframe, a designer will begin adding color and creativity to the simple wireframes, creating exactly what your app will look like. This part of the process is called UI Design.
Once UI design is complete, a prototype is made. The prototype looks and behaves very closely to the actual app and will be used to test your idea before it’s built.
User Testing
Now it’s time to try out everything you’ve made. The prototype with the MVP features is taken directly to the users to conduct a controlled test. They’re asked to do certain tasks, and how they move within the app is observed. This allows you to discover exactly what users like and don’t like about your functionality and design, allowing you to quickly change it as needed.
Build
Development
This is the biggest part of creating your app! This is where features actually get programmed. Prototypes are broken down into individual user stories, weekly sprints are set up to track progress, and work begins on the development backlog.
Everything decided on in the brainstorming phase and designed during the design phase now has to be developed, such as the previously mentioned notifications, authentication, and connectivity. High risk features are done first to ensure they are viable, but all features you want your app to have will be coded here.
Over the course of development, your app will slowly be deployed to mobile devices. A tool called AppCenter can deploy your app directly to stakeholders’ phones. This is done so that tests on each feature can be done while coding continues as opposed to at the very end. Usually, up to five stakeholders will receive deployments. It’s like building a house: you’ll want to periodically check in after each big feature is finished.
Storefront Account
Before your app can get out into the world, you’ll first need to set up storefront accounts. Whether you’re making an Android only app or a cross-platform product, you’ll need to have access to the Google and/or Apple stores. For now, your account will be bare-bones; later on, you’ll be adding much more detail.
Pricing
If your app is going to be free, skip this step! If you’re planning to sell your app, however, you’ll need to decide on your price. Remember that each store will be taking a share, so plan accordingly. You’ll also need to decide if you’ll have in-app purchases, and the individual costs of them.
Submit to Stores
You’re in the home stretch! Your app is finished, tested, and you’ll be able to submit to the app stores. This can be simple and take a few days but be prepared for it to go much longer if your app does not conform to Apple and Google store guidelines. Check out our video on how to publish a mobile app to the app stores.
Goes Live
Once your app is submitted successfully, your product will be live! To make your app stand out, you’ll want to upload high resolution screen images to your storefront. You’ll also need to classify the type of app as well as add metadata.
Support
Monitoring
For the next 30 days, you’ll need to pay close attention to the crash reports. A crash happens when your software is unable to function properly and shuts down unexpectedly. Crash reporting software like Crashlytics help developers figure out why your app is crashing.
You may need to debug your program and release small updates as needed. If you think that a future operating system update will break your app, you should add a message telling users to upgrade if they wish to continue using your product.
Maintain
Just because your app is live and working does not mean you’re out of the woods just yet. Your app will need to be maintained to stay current and up-to-date. App maintenance has several facets to consider, so look for a blog in the upcoming weeks explaining how best to maintain your app.
Conclusion
During the research phase, you’ll define your vision, speak to stakeholders, and analyze competition. The design phase brings your idea to life and finalizes the look, flow, and features. The longest phase consists of the actual development of your app. Finally, you’ll need to monitor and maintain your product after it goes live on the storefronts.
This concludes our adventure through the baker’s dozen of app development at Slingshot. Thank you for joining us! Slingshot can easily walk you through each step. If you’d like to learn more about mobile app development, contact us today!
One Comment